• HOME
  • Portfolio
  • Club CreatingYOU.®
  • About
  • Cookbooks
  • Blog
  • Search

Lori Rice

Photography | Styling

  • HOME
  • Portfolio
  • Club CreatingYOU.®
  • About
  • Cookbooks
  • Blog
  • Search

Transitioning from Aperture Priority to Manual Mode

I’m always surprised when people let me know how afraid they are of transitioning into manual mode for their food and product photography. 

First, you should know that how you use your camera is your choice. It doesn’t make you a better or worse photographer if you create the photos you envision while using shutter or aperture priority. Many professional photographers take advantage of these modes in specific situations such as in nature where things are constantly changing.

But I encourage everyone I teach to learn how to use their camera in manual mode. Here’s why:

  • It gives you more control over capturing your image. 

  • You learn more about your camera and what it is capable of. Something that could lead you on a new path of artistic creation you didn’t know existed. 

  • You learn more about light and how to control it whether you choose to use natural light, like I do most of the time, or artificial light. 

Like most photographers who step into this world from another type of work and begin with it simply being a hobby, I started in auto mode then transitioned to aperture priority. 

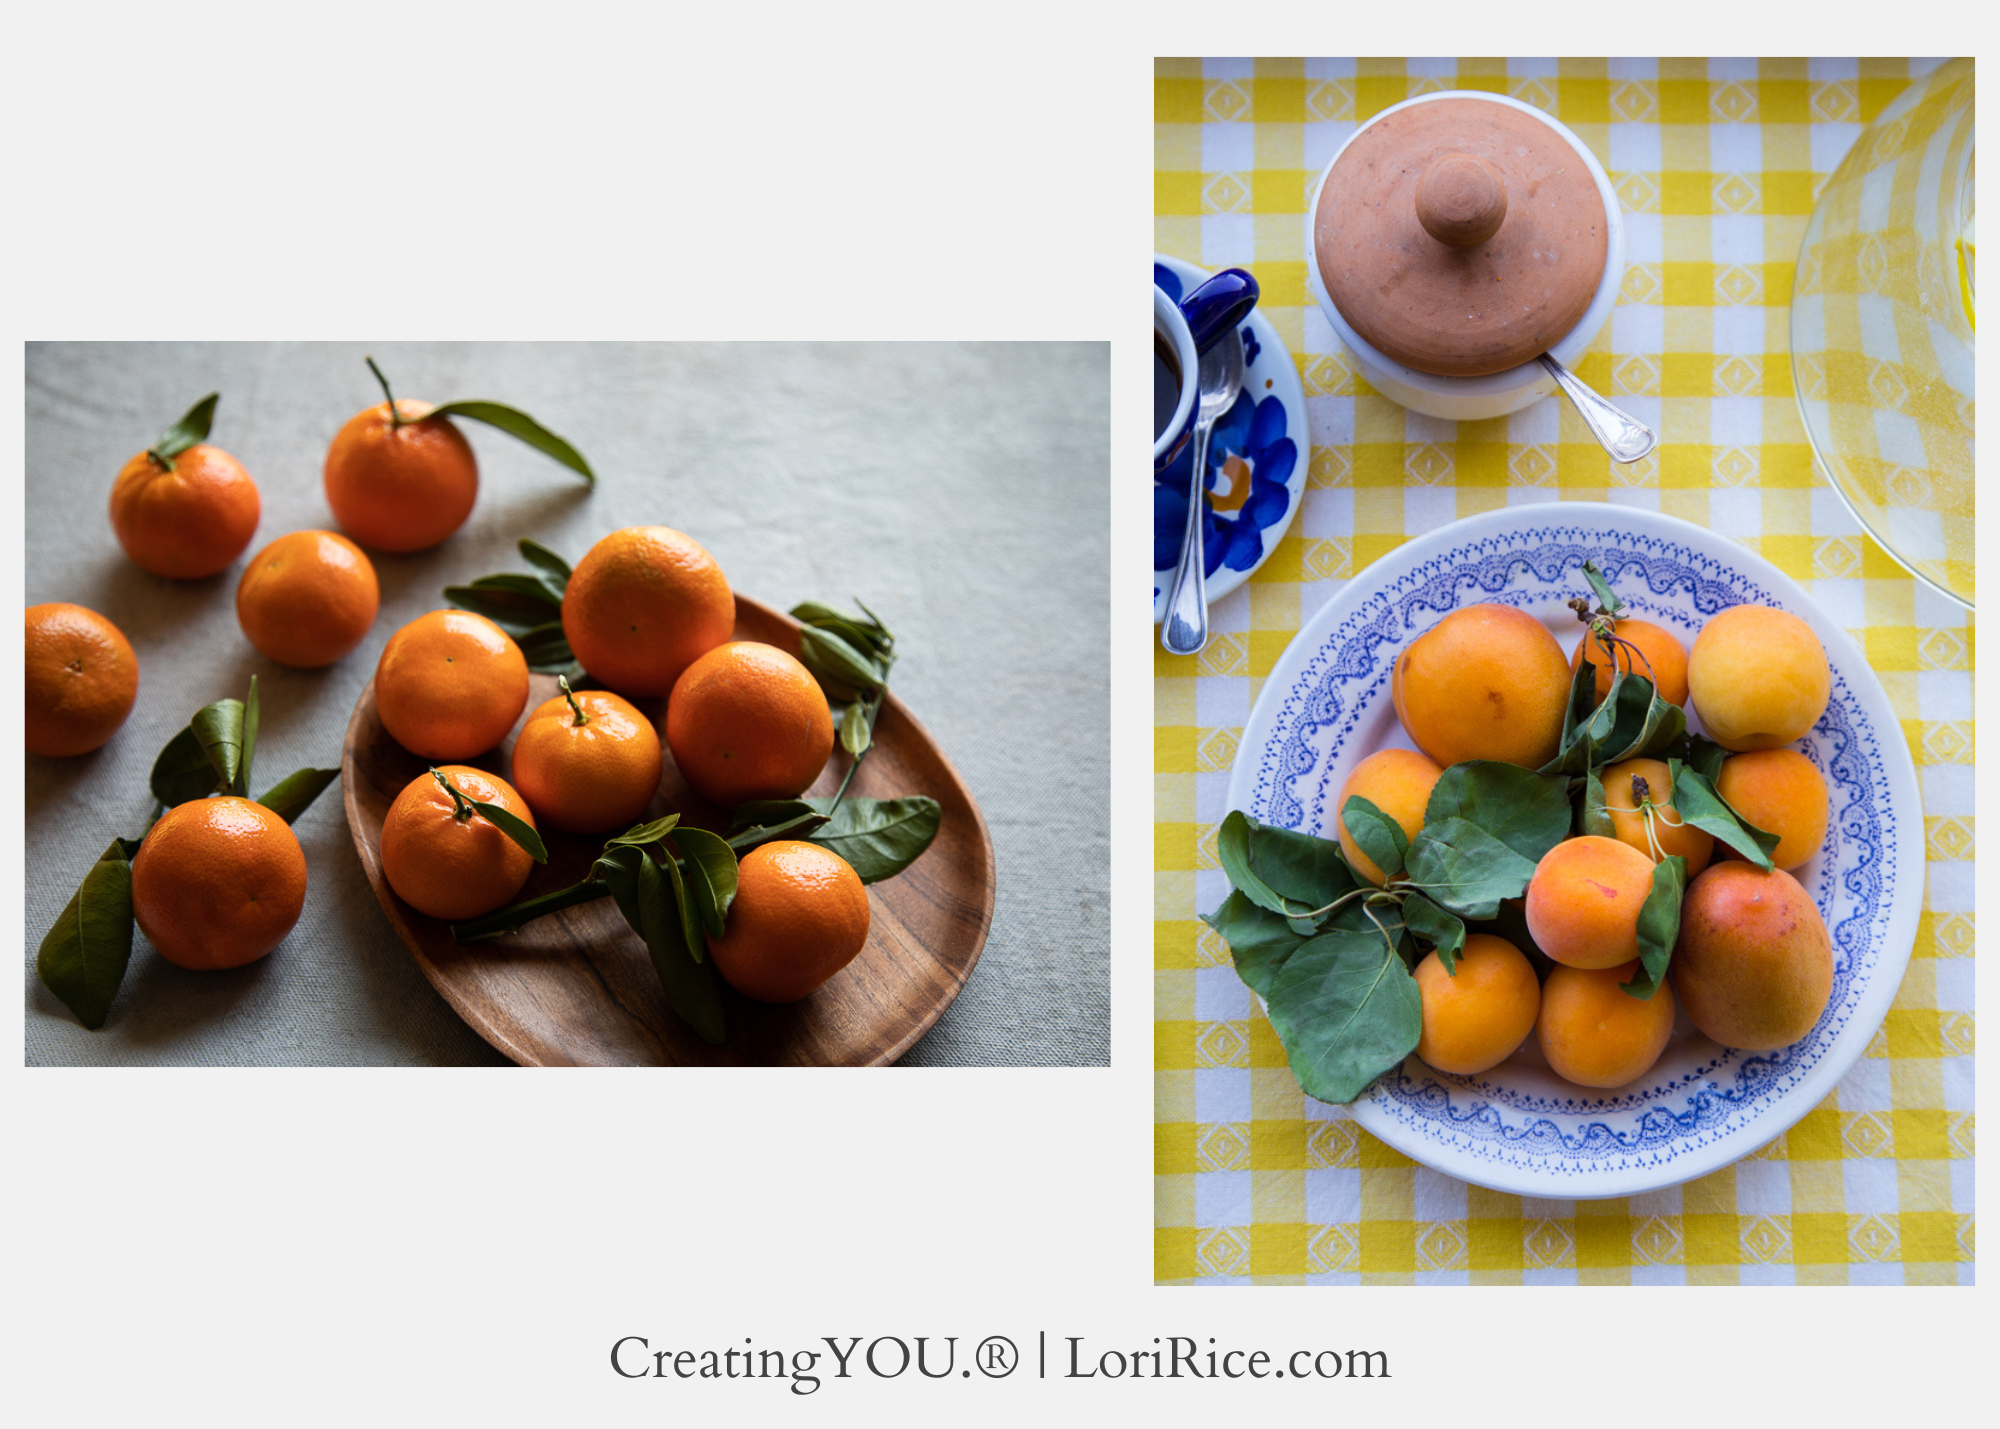
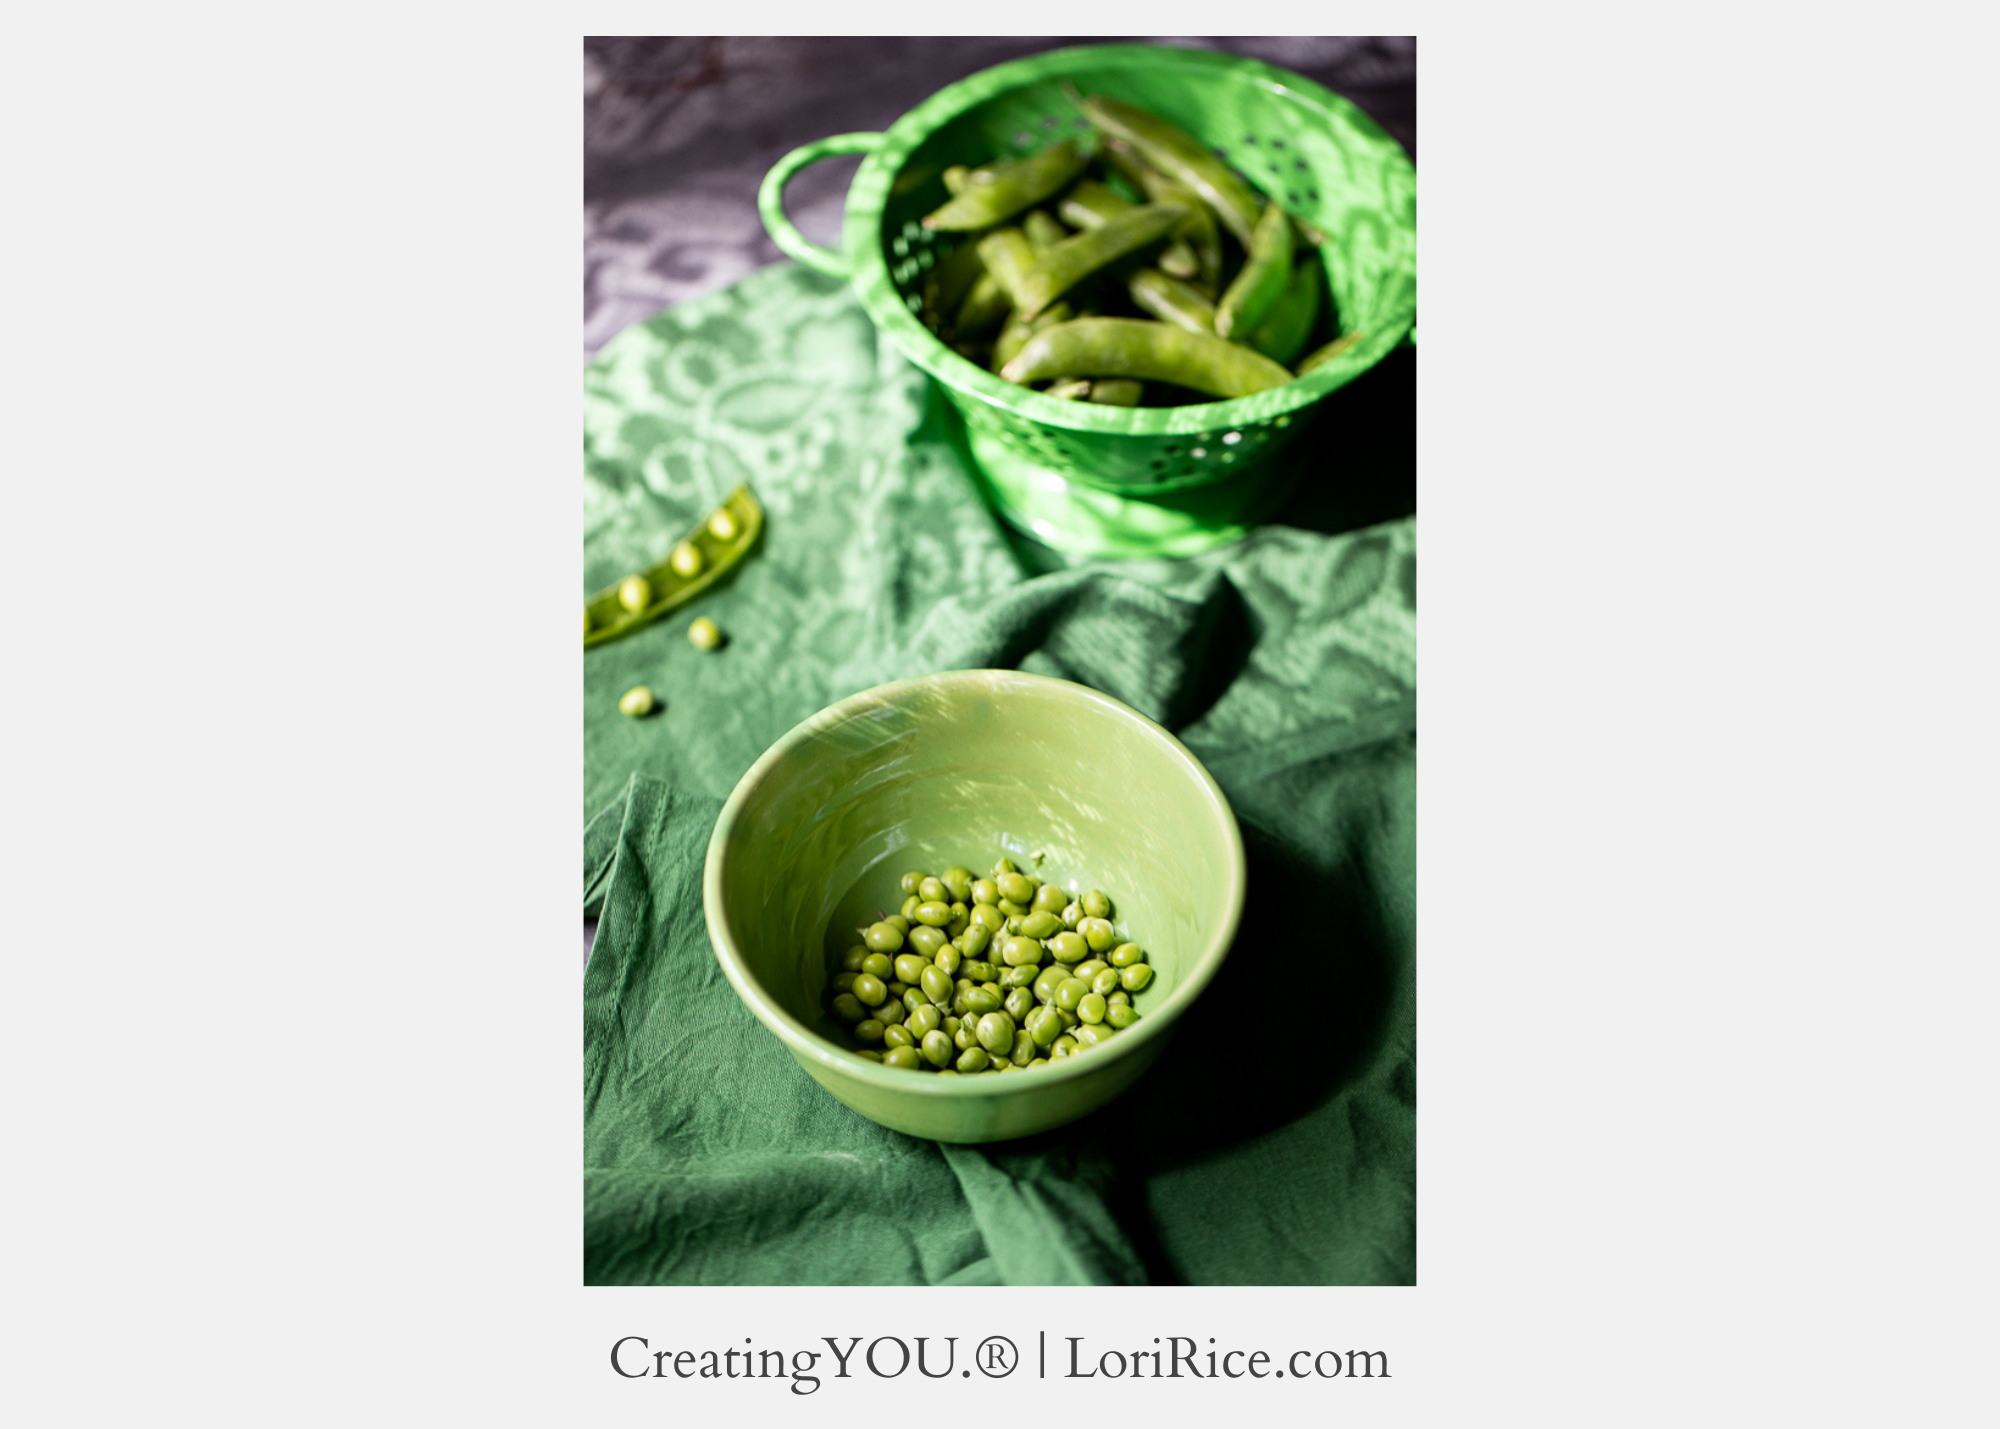
I photograph food most often and I fell in love with shallow depth of field (blurry background). In order to create that, I had to learn about aperture. All settings on your camera influence the light or brightness in your images, but aperture can be viewed as a hole that lets more or less light into the camera. 

When that setting is low, more light gets into the camera (called a wider aperture) and it creates that blurry background we tend to love in close up food shots. 

Once I knew how to create that with using aperture priority, I was all set for a long while. 

Then I decided to make this photography thing part of my career shooting editorial, for food and drink brands, and for cookbooks. 

I knew I needed to tackle manual mode, and fully understand it even if I didn’t use it, to transition from a hobbyist to a professional. 

And it was so easy. 

There is absolutely nothing to be afraid of. 

Just begin with understanding one component, like I did with aperture. By doing that, when I started using the camera in manual mode, I knew what aperture setting I wanted for the majority of the photos I was creating. 

A general how-to-use-a-camera course really helped me. I took John Greengo’s course on Creative Live, Fundamentals of Photography. (I’m a Creative Live affiliate so if you purchase anything via my links I’ll receive a small commission.)

I took the training when it very first came out and they offered it as a 10-week course for free. It was a long time ago, back when we lived in Central Kentucky, so 10+ years ago. I learned so much and owe what I know about my camera, how to control my light and capture motion, to that course. 

From there I learned about camera settings and lenses as they relate more specifically to food and still life photography. About ISO, how it affects the brightness of the image and at what setting I needed in my own studio to prevent grainy photos (stay at 400 or below). I didn’t fully understand that until I learned from Matt Armendariz. 

I tackled shutter speed, and understood better how that can influence camera shake, something I learned from Diane Cu-Porter and Todd Porter. 


You can take a course like the one I mentioned above or pick up bits and pieces in YouTube videos and articles online. I think a comprehensive course or lesson is easier. 

It’s why I teach some of the concepts in one of my free webinars which is coming up soon in September and then I expand on them in my Confused to Confident Course. 

But the most important thing is to just switch that camera to manual and practice. Take some shots, change your settings and track what you change. Over time, with some additional support like a course or webinar, things will start to click and you’ll understand how it all works together. 

The control you’ll have over your camera and the images you create is guaranteed to change your work for the better. I promise. 


Hop on the list to receive my newsletter so you’ll know when you can sign up for my Conquer Your Camera webinar.


tags: photography technical, camera settings, cameras
categories: Cameras and Tech
Monday 08.15.22
Posted by Lori Rice
 

Five Things That Fuel My Creative Process (and two things that don’t)

I’m always advocating for looking outside your niche for inspiration that you can bring back to your photography, or any type of art you create. 


This practice gives us a different perspective and can help spark ideas for how to style a photo, create a mood, and fill a frame. 


There are a lot of things that I do that fuel my creative practice. They help give me ideas for new images to create, colors to combine, and stories to tell with my photos. 


And there are also some that I used to do regularly that no longer help me. In fact, I’d go so far as to say that over time they hurt my practice. It took me a while to realize this, but what I thought was helping to spark ideas was more often making me feel inadequate.  


Today I’m sharing five things that help me along with five that don’t and why. 


Five things that fuel my creative practice

  • Art walks and museum browsing. I’m a longtime Monet fan and I love browsing museums with similar exhibitions whether from well-known artists or local, up-and-coming talents. Paintings spark ideas for color combinations and textures that I can explore with my food photography.

  • Travel to experience culture. I travel a lot. And I realize that not everyone has the ability to do this. I can’t underestimate how important travel is in my work, though. So even if your version of it is watching a travel-related television show, I encourage everyone to work it in somehow.

    Travel gives us a better understanding of how things are done both differently and similarly to what we are familiar with. It sparks ideas for capturing how things are presented, how foods are served, and common colors and tones that relate to our cultures around the world.

    I’ve traveled to 26 countries and lived in Brazil for a while, but I’ll never forget the time I traveled to Italy specifically for a food photography workshop. My style was so stuck on neutrals, and stones, and woods, which I still love. But that isn’t the reality of kitchens in cultures throughout the world. The plaid, and florals and bright colors opened me up to new ways of thinking about my work. 

  • Walking gardens and farms. Whether it’s a neighborhood walk looking at flower gardens or going to a u-pick farm, searching for unique angles, colors to coordinate, and layout designs is something that always benefits my creativity. 

  • Flipping through home design and decor books. Reviewing the moods created with design styles gives me ideas for types of textures, layouts, and colors to use in my my food and product photography. 

  • Observing wildlife. I’m an animal person. I can watch cows grazing, harbor seals lounging, and birds pecking for hours. At it’s simplest, it calms me and helps me to reflect on my work, but more importantly as I’ve started to photograph wildlife I see how I can work the colors and light of nature into my other types of photography as well. 

Two things that hurt my creative practice

  • Browsing Pinterest. I still like this social media platform and I do still encourage beginners to use it as a place to see a lot of different types of photos to understand what they like in a photo style. But in the past I used it to help me generate ideas. Now, I really feel like doing that clouds my own creativity and keeps me from developing my own original ideas, those that come to me through the five things I mentioned above. 

  • Browsing magazines. Photography, especially food photography, is a trendy thing. And magazines focus on what is trending. Don’t follow trends. Because they will change quickly and your work will soon look dated. It’s fun to experiment with trends, but its much more beneficial to focus on developing your own style that can be carried through your work even as your focus, and minor details around that style, change. 

For example, I was much more into dark and moody, deep woods, and all that with my work early on. It spoke to me. Today, I still love mood, but I also like a slightly brighter look. I’m not chasing trends, I’m creating what speaks to me and what I want viewers to feel when they look at my photos. 


Honestly, I stay away from most magazines for the purposes of reviewing photos. It can be a helpful practice when starting out and determining what you are drawn to, but just be sure you are viewing issues from a span of five years or so in order to see photos of all styles. 


Struggle to coming up with new ideas for your photos? Check out the creative guide,

10 Ways to Photograph Banana Bread
tags: Creative break, photography style
categories: Creative work, Photography Style
Sunday 08.14.22
Posted by Lori Rice
 

Using What You’ve Got - Shiny Photography Surfaces

One of the biggest things that gets in the way of creating photos you love and can’t wait to share is something I call - but I don’t have (fill in the blank). 

But I don’t have that window.

But I don’t have that table.

But I don’t have that lens.

But I don’t have that kitchen.

You get the idea. 

But what DO you have? 

We must switch our thinking when we aim to create photos in a minimalist way. We all have things that are unique to us - our personalities, our values, our way of living, our location, our experiences. 

This way of thinking has gotten me past so many of those woe-is-me moments that had the potential to make me feel like I’d never create photos I loved.

And it prompts me to challenge myself to use what I have to create a photo - using what you’ve got. 

Making this a regular practice will:

  • Help you focus on what you can create instead of what you can’t

  • Improve your editing skills

  • Help you develop your individual style

This is how it works for me. I find a surface that I’d likely never think of for a photo. It’s not pretty stone - real or faux, or a midcentury modern table. 

For example, a super shiny surface like our grill outside. 

Photographing strawberries on a shiny surface Lori Rice

Then I grab a prop I have around or maybe it’s a bowl I use every day. 

Next, I find a subject. In this case, some strawberries. The only three that developed off of the small potted strawberry plant I keep in memory of our pug Macy Mae. 

Take a few photos. Then have some fun with the editing. See what you can create. 

Strawberries on a shiny surface

You may love them. You may think - nope, this isn’t me. But you’ve challenged yourself and figured a few things out in the process. 


I do this practice a lot. And I’ll be sharing more of those experiences and the photos that result here on the blog. 

Interested in exploring more surfaces for your photography, but don't have a lot of space? Be sure to grab this free training:

Original Food Photography Surfaces for Small Spaces
tags: photography tip, photography surfaces
categories: Photography Tips, Styling Tips, Creative work
Saturday 08.13.22
Posted by Lori Rice
 

One Photography Prop Four Ways - Colander

My prop collection is minimal compared to other studios I’ve toured. I carefully evaluate each piece I buy - can I use this multiple times without it looking like the same photo?  

When it comes to something I will use a lot, like a colander due to all my produce photography, I know I’m going to need different types in my collection to create unique photos. For me, that warrants keeping a few extra around and jumping on the chance when I find something a little unique. 

Today I’m showing you the diversity of the three I have and how they can be used to create different moods of photos. I include why I chose them for this look. 

The first is a handmade ceramic colander from Fringe and Fettle. The style and color of this one leads to some comforting photos that don’t have to go too dark and moody. It looks great on white wood with berries. 

This is another handmade ceramic colander from Honeybee Pottery. It’s much larger and the handmade quality allows for use in rustic, farmhouse type looks while the color provides for some vibrance in the shot.

This basic mesh colander is what I turn to when I need to create more of a modern kitchen look. 

This green metal colander is a bit of an outlier for me. I use it when I want to create something a little different, outside of my usual style. This is from a personal single-tone project I did where I kept all components of the photo the same hue. I also added some lace in my light source to create pattern in this one. 

 
5 Steps to Better Food and Product Photography
tags: photography props
categories: Photography Props
Friday 08.12.22
Posted by Lori Rice
 

Editorial Photography for Chickens Magazine

I’ve had a recipe column in Chickens Magazine for quite a few years now. Each recipe I share in this bi-monthly magazine is accompanied by food photography. These are some of the more recent recipe photos that I have styled and photographed for the print edition of the publication.

In need of photos? I regularly welcome new clients. Review my portfolio below.

Lori Rice Portfolio
tags: client work, food photography, recipe photography
categories: Recent Client Work
Thursday 08.11.22
Posted by Lori Rice
 
Newer / Older

Our Privacy Policy and Terms of Sale. ©2025 Fake Food Free Productions, LLC.