• HOME
  • Portfolio
  • Club CreatingYOU.®
  • About
  • Cookbooks
  • Blog
  • Search

Lori Rice

Photography | Styling

  • HOME
  • Portfolio
  • Club CreatingYOU.®
  • About
  • Cookbooks
  • Blog
  • Search

Five Dried Garnishes I Keep for Food and Product Photography

Dried Garnishes for Food and Product Photography

Dried garnishes are so helpful to keep around for adding new touches to your photos. They last nearly forever so you know they’ll be there to grab when you need them. 

Here are five of my favorite dried garnishes that I always keep on hand. 

Dried Citrus Slices

I bought a simple kitchen dehydrator this year for an article assignment I had to complete. It has been so easy to make dehydrated blood orange, lemon, and lime slices. Now I keep a bag around for garnishing cocktails and for still-life shots. 


Dried Eucalyptus 

This is by far my favorite green. I pick up a bunch at Trader Joe’s whenever I’m lucky enough to find it. It stays in a vase in my studio to use in all kinds of photos. 
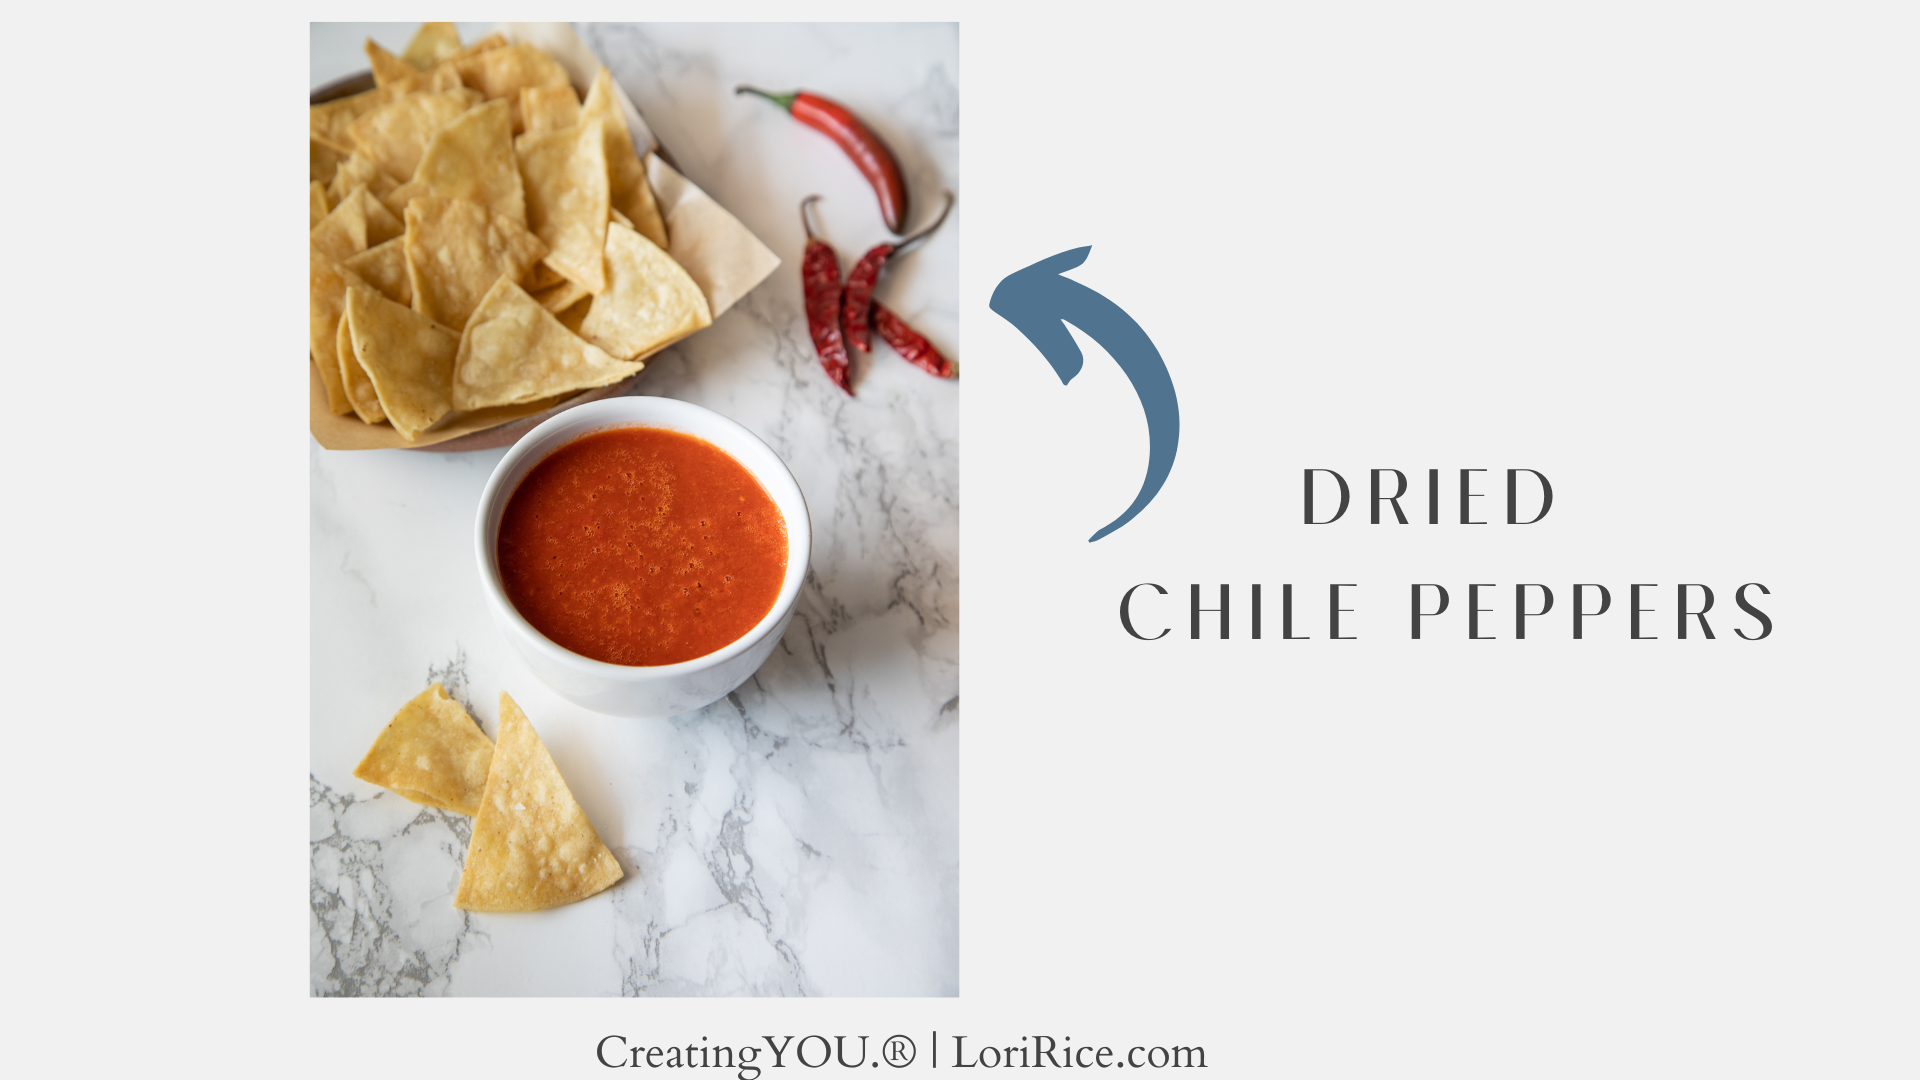

Dried Chile Peppers

I like using dried Birdseye chiles or others similar in size. They fit well into most styled food scenes when the goal is to emphasize that it’s a bit spicy. They also add a nice pop of color even when dried. Mixing them in a shot with fresh peppers is a fun touch, too. 


Nuts In Their Shells

Nuts still in their shells will last for a very long time. I always keep walnuts around. They are great for baking photographs and for still-life centerpieces. I will crack open a couple every now and then so the nut is in view. 


Pinecones and Leaves

Autumn is my very favorite season so it’s likely no surprise that I use these a lot. Each year I set out on a harvest walk and gather up some new leaves and pinecones for my collection. I especially love it when I can find a few leaves that still have some vibrant color like yellow. Not every element of a food or drink photo has to be edible, especially when you are trying to create a seasonal scene. Have some fun with it.

 
Original Food and Product Photography Surfaces for Small Spaces - Grab the free training!
tags: styling, still life photography
categories: Photography Props, Styling Tips
Wednesday 08.03.22
Posted by Lori Rice
 

Using Photography Surfaces as Flooring in Your Photos

Watch right here or read below!

I love flooring. I especially love how it can create a scene for photos when you shoot at a high angle or overhead and catch just the tiniest bit of it in a shot. 

But for years, my floor was brown shag carpet. Not exactly the kind of thing that makes you ooh and ahh over a photo. 

Even now, I would have loved to have some rustic concrete or hardwood in my rental studio, but I had to work with the landlord for the most affordable option. And that happened to be boring office carpet.

The solution? Using my favorite surfaces as stand-ins for flooring. And they don’t have to be that big. It just takes a little creativity and movement to capture some fun images and angles. 

Let me show you some examples.

I love my 2x3 vinyl surfaces from Poppy Bee Surfaces. Last week, I was photographing artichokes and I really wanted to get a shot on the corner of the live edge table my husband and I made a few years ago. But, again, boring office carpet. 

So I set this up:

When shooting overhead I had to adjust myself.

Too high and I catch the edge of the carpet and the rug. Too low and I caught the edge of the surface at the bottom. But zooming in and centering myself with the camera gave me the third and final shot. 

Bigger boards take a bit less work, but you still have to capture the right angle. I shot this scene just last week. Laying my 4 x 4 pallet wall surface on the ground allowed me to capture these sangria shots. 

And this shot you saw just last week in the email about Changing Your Angle. This is a vertical of the same scene. The chair is set on a sheet of black painted canvas. This is what it looked like before I cropped and edited for the final image on the right. 

The cocktail should look familiar, too. This one doesn’t use a surface at all, but a scuffed and worn-out black foam core board. 

I hope this inspires you to incorporate some interesting flooring into your shots soon!

5 Steps to Better Food and Product Photography
tags: styling, surfaces, photography tips
categories: Creative work, Photography Tips, Photography Props
Thursday 02.24.22
Posted by Lori Rice
 

Food Photography Styling Starts With the Raw Ingredients

FoodPhotographyStyling.png

Styling and shooting a simple food like this hummus wrap with roasted vegetables begins long before you step up to your set. This short video shows you how I begin thinking about a shot as I review the raw ingredients that will be going into it. It contains tips for workflow that you can apply to your own at-home set.


Want to know when videos like this post, along with some insider tips that I save for my subscribers? Get on the list to receive weekly-ish tips and trainings.

Confused to Confident opens soon!

tags: food styling, food props, food photography
categories: Photography Props, Styling Tips
Wednesday 08.11.21
Posted by Lori Rice
 

Quickest Way to Clean Vintage Props for Food Photography

Clean Up Vintage Props.png

I have a special place in my heart for vintage eating utensils. Set me loose in a flea market, yard sale, or upcycle vendor event and I’ll head straight to the forks, knives, and spoons. 

While I love that dark, tarnished look sometimes it can get a little too dark and tarnished when I’m shooting for others. 

But I don’t want to polish it all up so it's a pristine silver-shiny. It would break my heart to lose all of the aging and character. 

The solution? It’s in your bathroom. 


tags: props
categories: Photography Props
Tuesday 03.09.21
Posted by Lori Rice
Comments: 2
 

Food Photography Styling Tools to Buy with $10

Four Essential Food Photography Styling Tools for $10.jpg

No time to read? Listen to the audio file of this post above!

A quick post for you today with some super simple tools that I find essential to food photography styling. 

So let’s say you have $10 to spend. These are the exact things I’d buy. They are things that I use to style food and drink photos for nearly every shoot. Often I use all four, but I always use at least one of these tools. 

Where you buy these and the type you buy will determine if you come in at $10, but it will be pretty darn close. 

If I had $10, these are the essential styling tools I would buy…

Curve Tip Tweezers

These are hands-down the best for styling. Place an herb, remove a crumb, and rearrange a lettuce leaf or garnish. The tip is small enough that it won’t disturb your whole plate. 

Tip:  Be careful around soft foods, such as adjusting potatoes or beans in a soup. The sharp end of the tweezers can stab the food and leave a mark that will show up in the photo. 

Estimated cost:  $5


Small Spray Bottle

I use this to spritz on water to get a glisten of freshness without drowning a subject. I spray fresh fruits and vegetables, leafy greens in a salad, and the tops of soups and stews to keep things looking flavorful. The bottle in the picture above came in a multi-pack on Amazon, but a good place to find an inexpensive single option is the travel toiletry section at a drugstore or Target. 

Estimated cost: $1


Q-tips

Every time I need to wipe a splash on a plate or the inside edge of a soup bowl, I fight with paper towels. It seems like I wipe something away and something else gets smeared on. The solution for me are Q-tips. The small size allows more control to wipe away exactly what you want to get rid of. 

Estimated cost: $2 (go for the generic, they work just as well)


Paint Brush

You don’t need anything fancy here. You can buy an inexpensive artist’s brush set, but for something super cheap option, that’s still effective, head to the kid’s art section of the store for a watercolor brush. I use these most often to brush on olive oil to make vegetables and meats glisten. 

Estimated cost: $2


Arranging garnishes, wiping up drops and splashes, and making things shine or glisten - these are all tools I use on a regular basis to accomplish all of these tasks. And they are by far the least expensive tools used in creating food and drink photos!


I want to be part of the most support food photography group online. Keep me updated!

10 Ways to Photography Banana Bread
tags: pottery, food props
categories: Photography Props
Wednesday 12.04.19
Posted by Lori Rice
 
Newer / Older

Our Privacy Policy and Terms of Sale. ©2025 Fake Food Free Productions, LLC.