• HOME
  • Portfolio
  • Club CreatingYOU.®
  • About
  • Cookbooks
  • Blog
  • Search

Lori Rice

Photography | Styling

  • HOME
  • Portfolio
  • Club CreatingYOU.®
  • About
  • Cookbooks
  • Blog
  • Search

Five Prompts for Fall Photography and Styling

As the seasons change, so does what I’m inspired to create. My styling and photography shifts to deeper colors, darker shadows, and stronger contrast. 

I find myself experimenting more with flames, warm drinks, and scenes that feel cozier than those that came to me in the muted, lighter summer. 

If you are feeling the same, here are five prompts to use for pulling together some creative photos yourself during this new season.

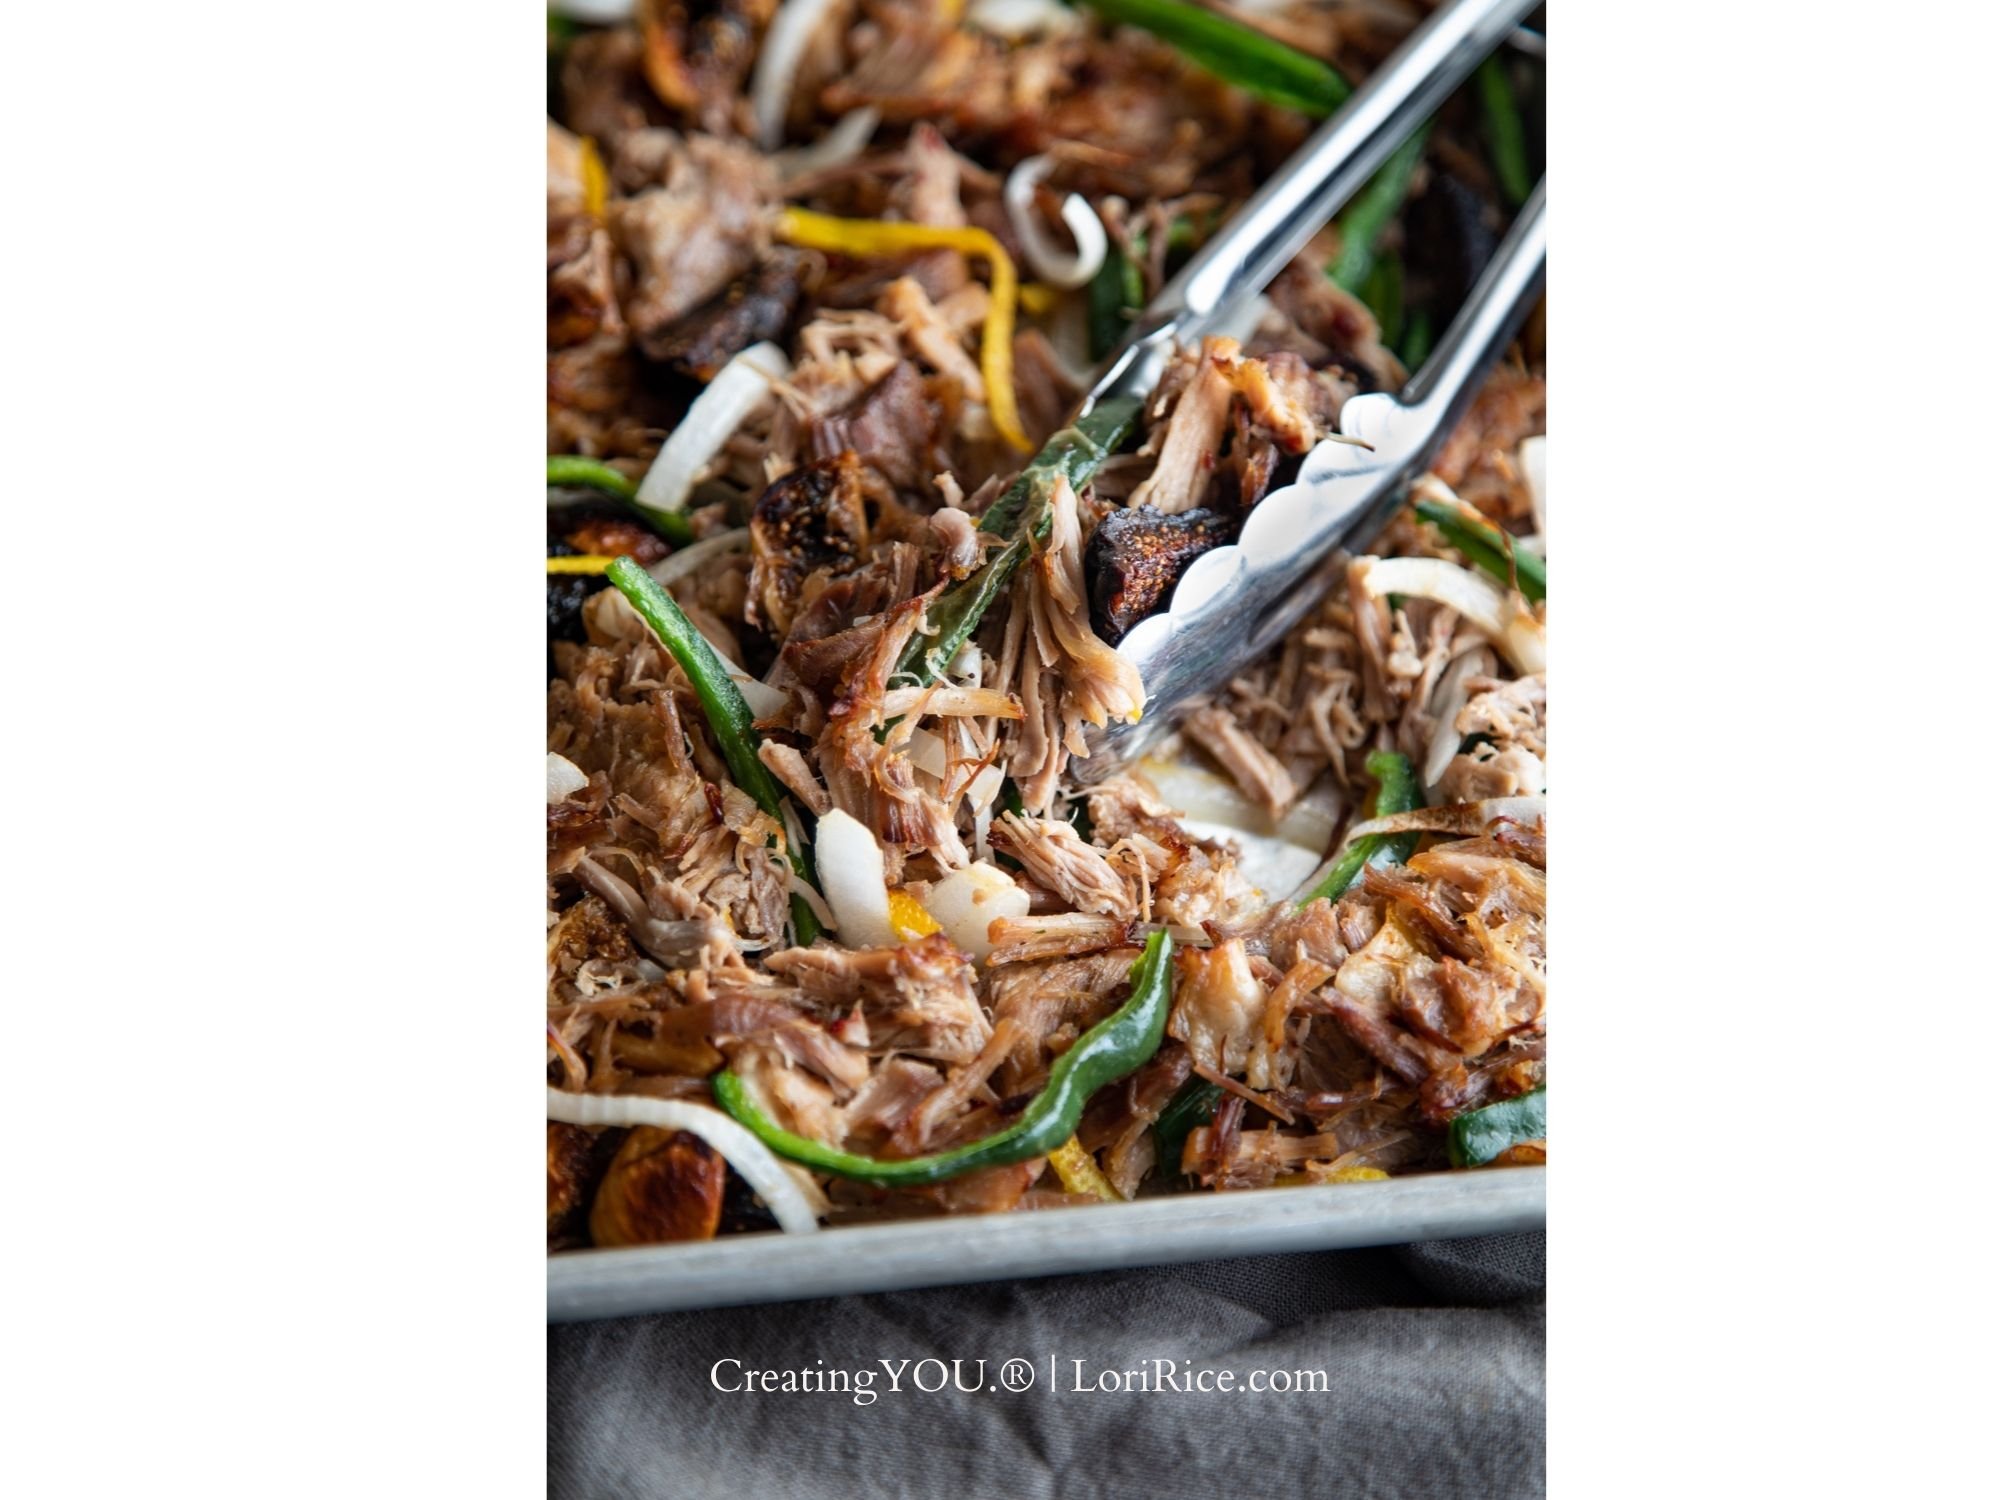
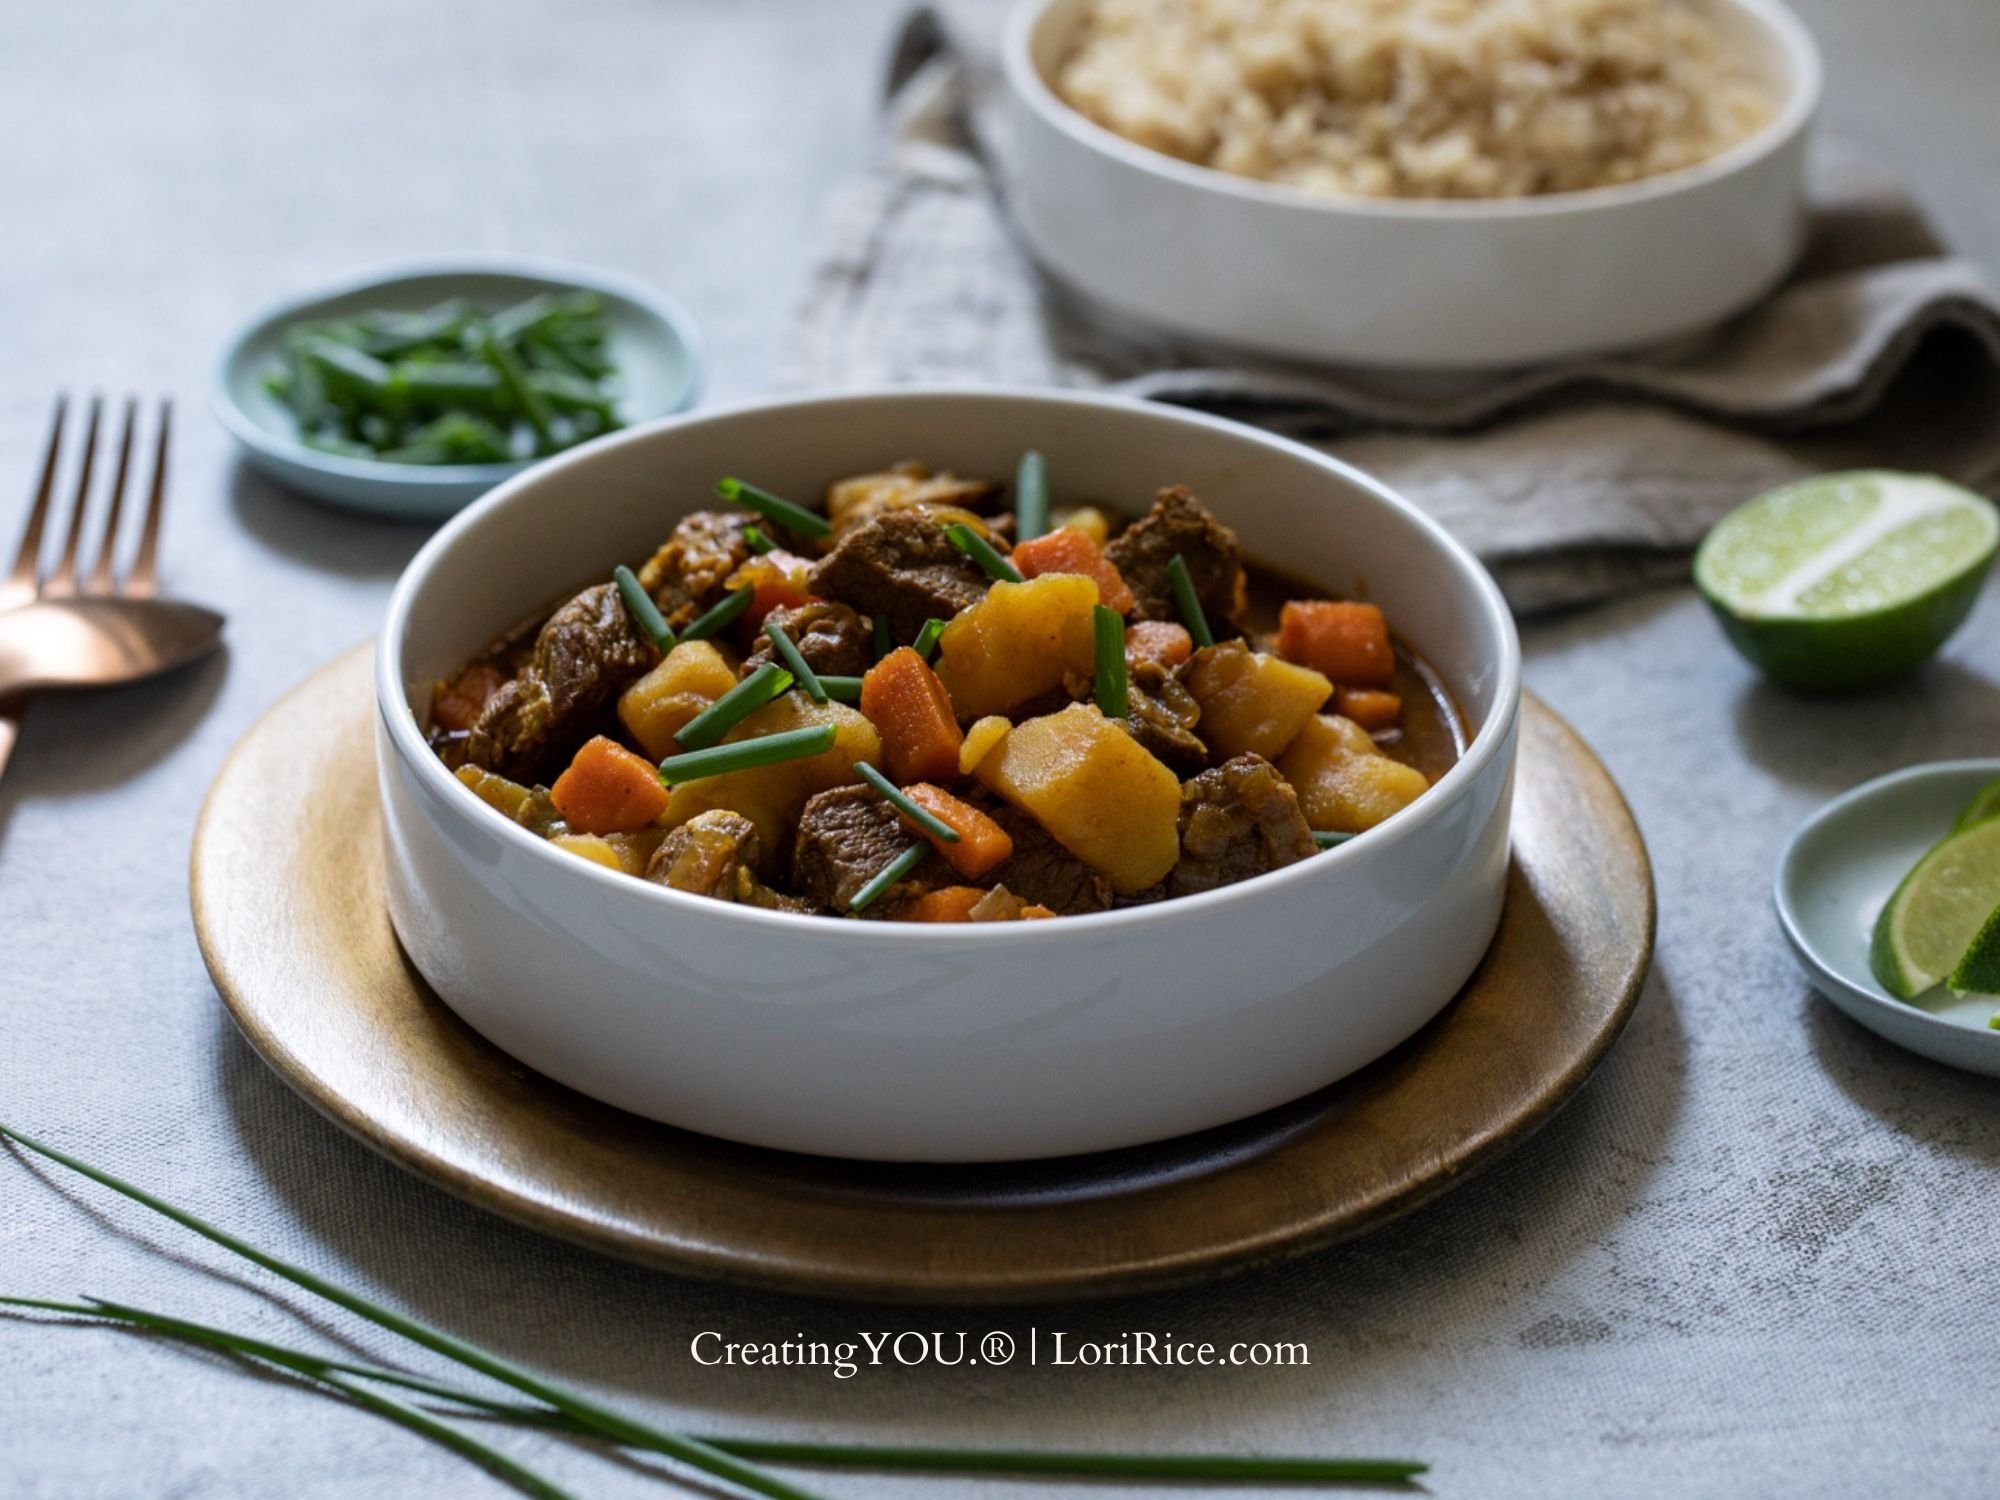
Make food the supporting star not the hero.

The prompt: If you often photograph food, consider taking your focus away from it. Create a scene that includes food, or hints at it, but make your hero something else - a stack of books, a candle, a dinnerware set, glassware. 

Tips:  Move the food to the foreground or the edges. Catch just a hint of a mug or the handle. Shoot at a shallow depth of field so that it stays out of focus in the scene. Or pull back and create a full scene with a food or drink as simply a part of a bigger set.

Incorporate prints.

The prompt: I love neutrals and solids as much as the next person, but fall is an ideal time to ease into prints for linens and tablecloths. Plaids and prints with browns, grays, blues, specks, and stripes help develop your eye for what works with the subject without stealing too much attention from it. 

Tip: Start by using prints as a surface versus trying to get the placement just right with a linen. If prints make you uncomfortable, focus on tight shots that capture only a bit of the surface. 

Create a fall-inspired diptych.

The prompt: Pick your favorite printed fabric or linen, one that gives you all the autumn vibes, and take a photo of it. Search your archives for a styled photo that pairs well with colors in the fabric, or create a new one. Set them up as a side-by-side in your editing software or Canva for a pleasing visual to share. 

Tip: I love using plaid for this exercise. It has so many colors and shades of those colors to match up with a styled scene. Pairing my photos helps me identify connections in color and mood that I can apply to future work I create. 

Take a prop shot.

The prompt:  Gather props - plates, trays, linens, utensils, cups - with the moodiest vibes you have going in your collection. Style and capture in at least three ways - overhead scene, tight detail, 45-degree angle.  

Tip: Working with still options outside of food sharpens skills at controlling light and styling placement. Plus creating moody prop photos is just a whole lot of fun!


Hit the streets.

The prompt: Whether it is a trail in the woods, the sidewalk in your neighborhood, or the median in a public parking lot, pick the peak week for color change in your area and head out with the camera. Create at least three fall-inspired photos with a unique perspective, a different angle or focus than you would first turn to.

(Timing for my fall photos was sometimes not until early December when I lived in California’s Central Valley. Even if you don’t get a lot of color change, things are changing. When we lived on the coast near the ocean, colors didn’t change, but skies, greenery, and sunsets did.)

Tip: Experiment with a shallow depth of field, especially with leaves and colors. Photograph through branches, squat down and photograph up. Think of ways to photograph that you never have before.


It’s baking season! Be sure you grab my creative guide with 10 Ways to Photograph Banana Bread.

tags: fall photography, styling
categories: Photography Tips
Friday 09.13.24
Posted by Lori Rice
 

Creating Sense of Place with Food Photography

Just about 2 ½ years ago I decided to rent a studio space outside my home. This was after nearly 10 years of creating my photos for clients in everything from corners of apartments to landings on the stairs to home offices. 

Today, I write this having just made the opposite move. 

This past weekend we moved into a new home, one we purchased with the intent of me moving my work back home. I decided to terminate my lease a few months early, as of the end of this month. 

The new studio space. A guest bedroom in our house.

I wrote about it on my Substack, From Every Corner of the World, with details about my experience with having a studio. The post is there if you’d like to read it. 

There were pros and cons of doing my creative work outside my home and I’m in that expected state of reflection. As I took a quick photo of my breakfast yesterday morning, I realized one thing I started to do rather unexpectedly was embrace the background in my photos. 

While it was having the space the studio granted me that prompted me to do this, I was unintentionally applying this to much more of my work in other places, proving that I didn’t really need space to accomplish it.

Embracing the background changes your photos. 

I love tabletop shots, but by catching a corner of your surface or a sliver of window, a photo tends to come alive. Environment evokes a whole new mood for an image and allows viewers to see themselves there. It creates a connection. 


Backgrounds don’t have to be beautiful. 

We create barriers when it comes to capturing more of our environment in a photo. I did for a long time. But backgrounds don’t have to be styled or beautiful. 

Using a shallow depth of field created by a wide aperture keeps a not-so-appealing background blurred. This photo I took this morning used f 3.2.

That quick shot of my breakfast this week that prompted this whole post.

A plain white wall, or a surface taped to the wall or board propped up behind the scene like the photos below works well, too. 

On the left, a mimosa photographed for the California Pomegranate Council. On the right, a photo for the article I wrote on creating a basic formula for salad dressings last year in Hobby Farm Magazine.


Keeping the background dark and showing the edge of your surface is another method. Drape anything in the background with a dark blanket or darken the background in Lightroom in post-production. 

On the left, a quick creative shot for myself after buying cherries at the farmers market. On the right, an autumn scene I set up in my old studio.

Move yourself to capture just the right angle of the set so that the hero is the focus and any clutter around the set is cut out. It allows you to still get a sense of the full scene where the event or action is taking place.

Both photos for my Farm Fresh Photos stock photography membership, taken in my old studio.

Pushing your boards or a table up against an open window creates interest as well. 

Both creative work for myself. The pie taken at home previous home studio. The pasta at my old rental studio.


Do you struggle with capturing more of your environment? Let me know.


We talked all about Prop Selection inside Club CreatingYOU.® in February, from choosing props to selecting colors. March’s topic will be announced soon. Come join us!

Club CreatingYOU.® is a community exclusively for solo creative stylist-photographers who want to grow their skills for capturing food, drink, and its origins while cultivating a distinct style. It’s always open to new members. 


tags: still life photography, lifestyle photography
categories: Photography Tips, Styling Tips
Thursday 03.07.24
Posted by Lori Rice
 

Styling and Photographing Brown Foods

One of the biggest struggles in food styling and photography is working with brown, beige, and neutral foods. Those that don’t give you a pop of color or interesting detail to work with. It challenges me often and it’s one of things you tell me you struggle with most.

The most common culprits are mushrooms, grains, and meats, especially those with long cooking times, such as stew.

There are a few things that you must incorporate into your set-up to ensure the best possible photos for these foods. Then there are a few more to consider as you troubleshoot the best options for making these foods look as good as you know they taste.

You must garnish. I’ve never been presented with a plate of neutral, beige food that did not require a garnish. You are at an advantage if you created the recipe as you can add pops of color and texture as needed. If you are photographing the food for someone else, you have to dig into a discussion with the recipe developer about what could be used to garnish the dish, and what is it made of. Just be sure that the final recipe reflects anything that is added. It can be listed as optional.

You’ll see garnish examples throughout the photos in this post, but the most obvious are chopped herbs and sprigs. It can also be chili oil, olive oil, and flake salt. Think in terms of both color and texture that can catch the light.

You must create directional light. Your light source must be coming from one direction only to highlight the detail of any brown food. Block it from all other directions and be sure it is hitting your hero spot.

Give meat movement. Add tongs, a fork, a spoon. And don’t be afraid to crop a few shots tightly to show texture and detail.

White plates and brighter sets solve most of my problems with brown foods. They allow the focus to be on the food making it pop more than if it were lost on a competing colorful or dark plate.

Use backlight if you prefer mood. Not everyone wants that white, bright set. Backlight can create a moody image while also catching the texture of the food and creating interest to the eye.

Hopefully those tips will get you started. Combine a few of them and see what you can capture the next time you are challenged with a neutral food.


More freebies, please.

Featured
Copy of Copy of Diptych (15).jpg
Cameras and Tech, Photography Tips, Styling Tips
photography, styling
My Favorite Styling Tools, Travel Essentials & Camera Gear (Minimal + Proven)
Cameras and Tech, Photography Tips, Styling Tips
photography, styling
Cameras and Tech, Photography Tips, Styling Tips
photography, styling
Fall (7).jpg
Styling Tips
styling, food photography, summer
How to Style and Photograph Frozen Treats: Tips for Solo Food Photographers
Styling Tips
styling, food photography, summer
Styling Tips
styling, food photography, summer
5.jpg
Photography Tips, Styling Tips
flat lay, styling, food photography, product photography
Flat Lay Photography: A guide to styling from minimal to cluttercore
Photography Tips, Styling Tips
flat lay, styling, food photography, product photography
Photography Tips, Styling Tips
flat lay, styling, food photography, product photography
 
tags: styling, food styling, food photography
categories: Photography Tips
Friday 01.19.24
Posted by Lori Rice
 

Tips for Photographing Meat

meat photography

I’m back with another photo breakdown and discussion. Thanks so much for the great feedback from my CreatingYOU.® newsletter on the last breakdown. I’m so glad to hear that you find these helpful.

I’m gearing up to knock out a lot of photos for The California Farm Table Cookbook that will include meat, eggs, and dairy. So let’s break down some photos with meat.

We’re going to take a look at a photo of marinated chicken thighs that I took several years ago. I’ll tell you what I would do differently now and then show you how I’ve applied those tips to more recent photos. We’ve got chicken, steak, ground beef, and duck all in this little 13-minute session. Watch and listen below!


If you missed my last photo review and breakdown, it was on props and proportions.

 
Don't miss the next Photo Review - Join the CreatingYou.® Email List Right here
tags: food photography, food styling, photo review
categories: Photography Tips
Friday 03.17.23
Posted by Lori Rice
 

Simple Holiday Backgrounds for Food and Product Photography

holiday backgrounds for photography

You don’t have to have a beautiful background to create a cozy holiday mood in food and product photos. A combination of the angle of your shot and your camera settings can take the simplest (often unattractive backdrops) and turn them into beautiful holiday-inspired photos.

In this video, I outline several photos and the simple sets used to create them. I hope it inspires ideas for photos you can style and photograph in your own space while eliminating the feeling that you don’t have the things you need to create the photos you envision.

 
Need more helpful tips? Check Lori's free resources right here.
tags: styling, food photography, product photography
categories: Photography Tips, Styling Tips
Monday 12.12.22
Posted by Lori Rice
 
Newer / Older

Our Privacy Policy and Terms of Sale. ©2025 Fake Food Free Productions, LLC.